Find out the basics on how to manage your Planwisely account.
If you're a registered Planwisely user, you can login to your account by navigating to the login page and entering your username and password.
Your username will be the email address attached to your Planwisely account.
.jpeg)
You can change your Planwisely account password when you're logged in to your account.
To do so, select My Profile at the top of the ribbon menu, then select Change Password.
You will then be asked to enter and confirm your new password, after which you will receive a confirmation message if your password has successfully been changed.
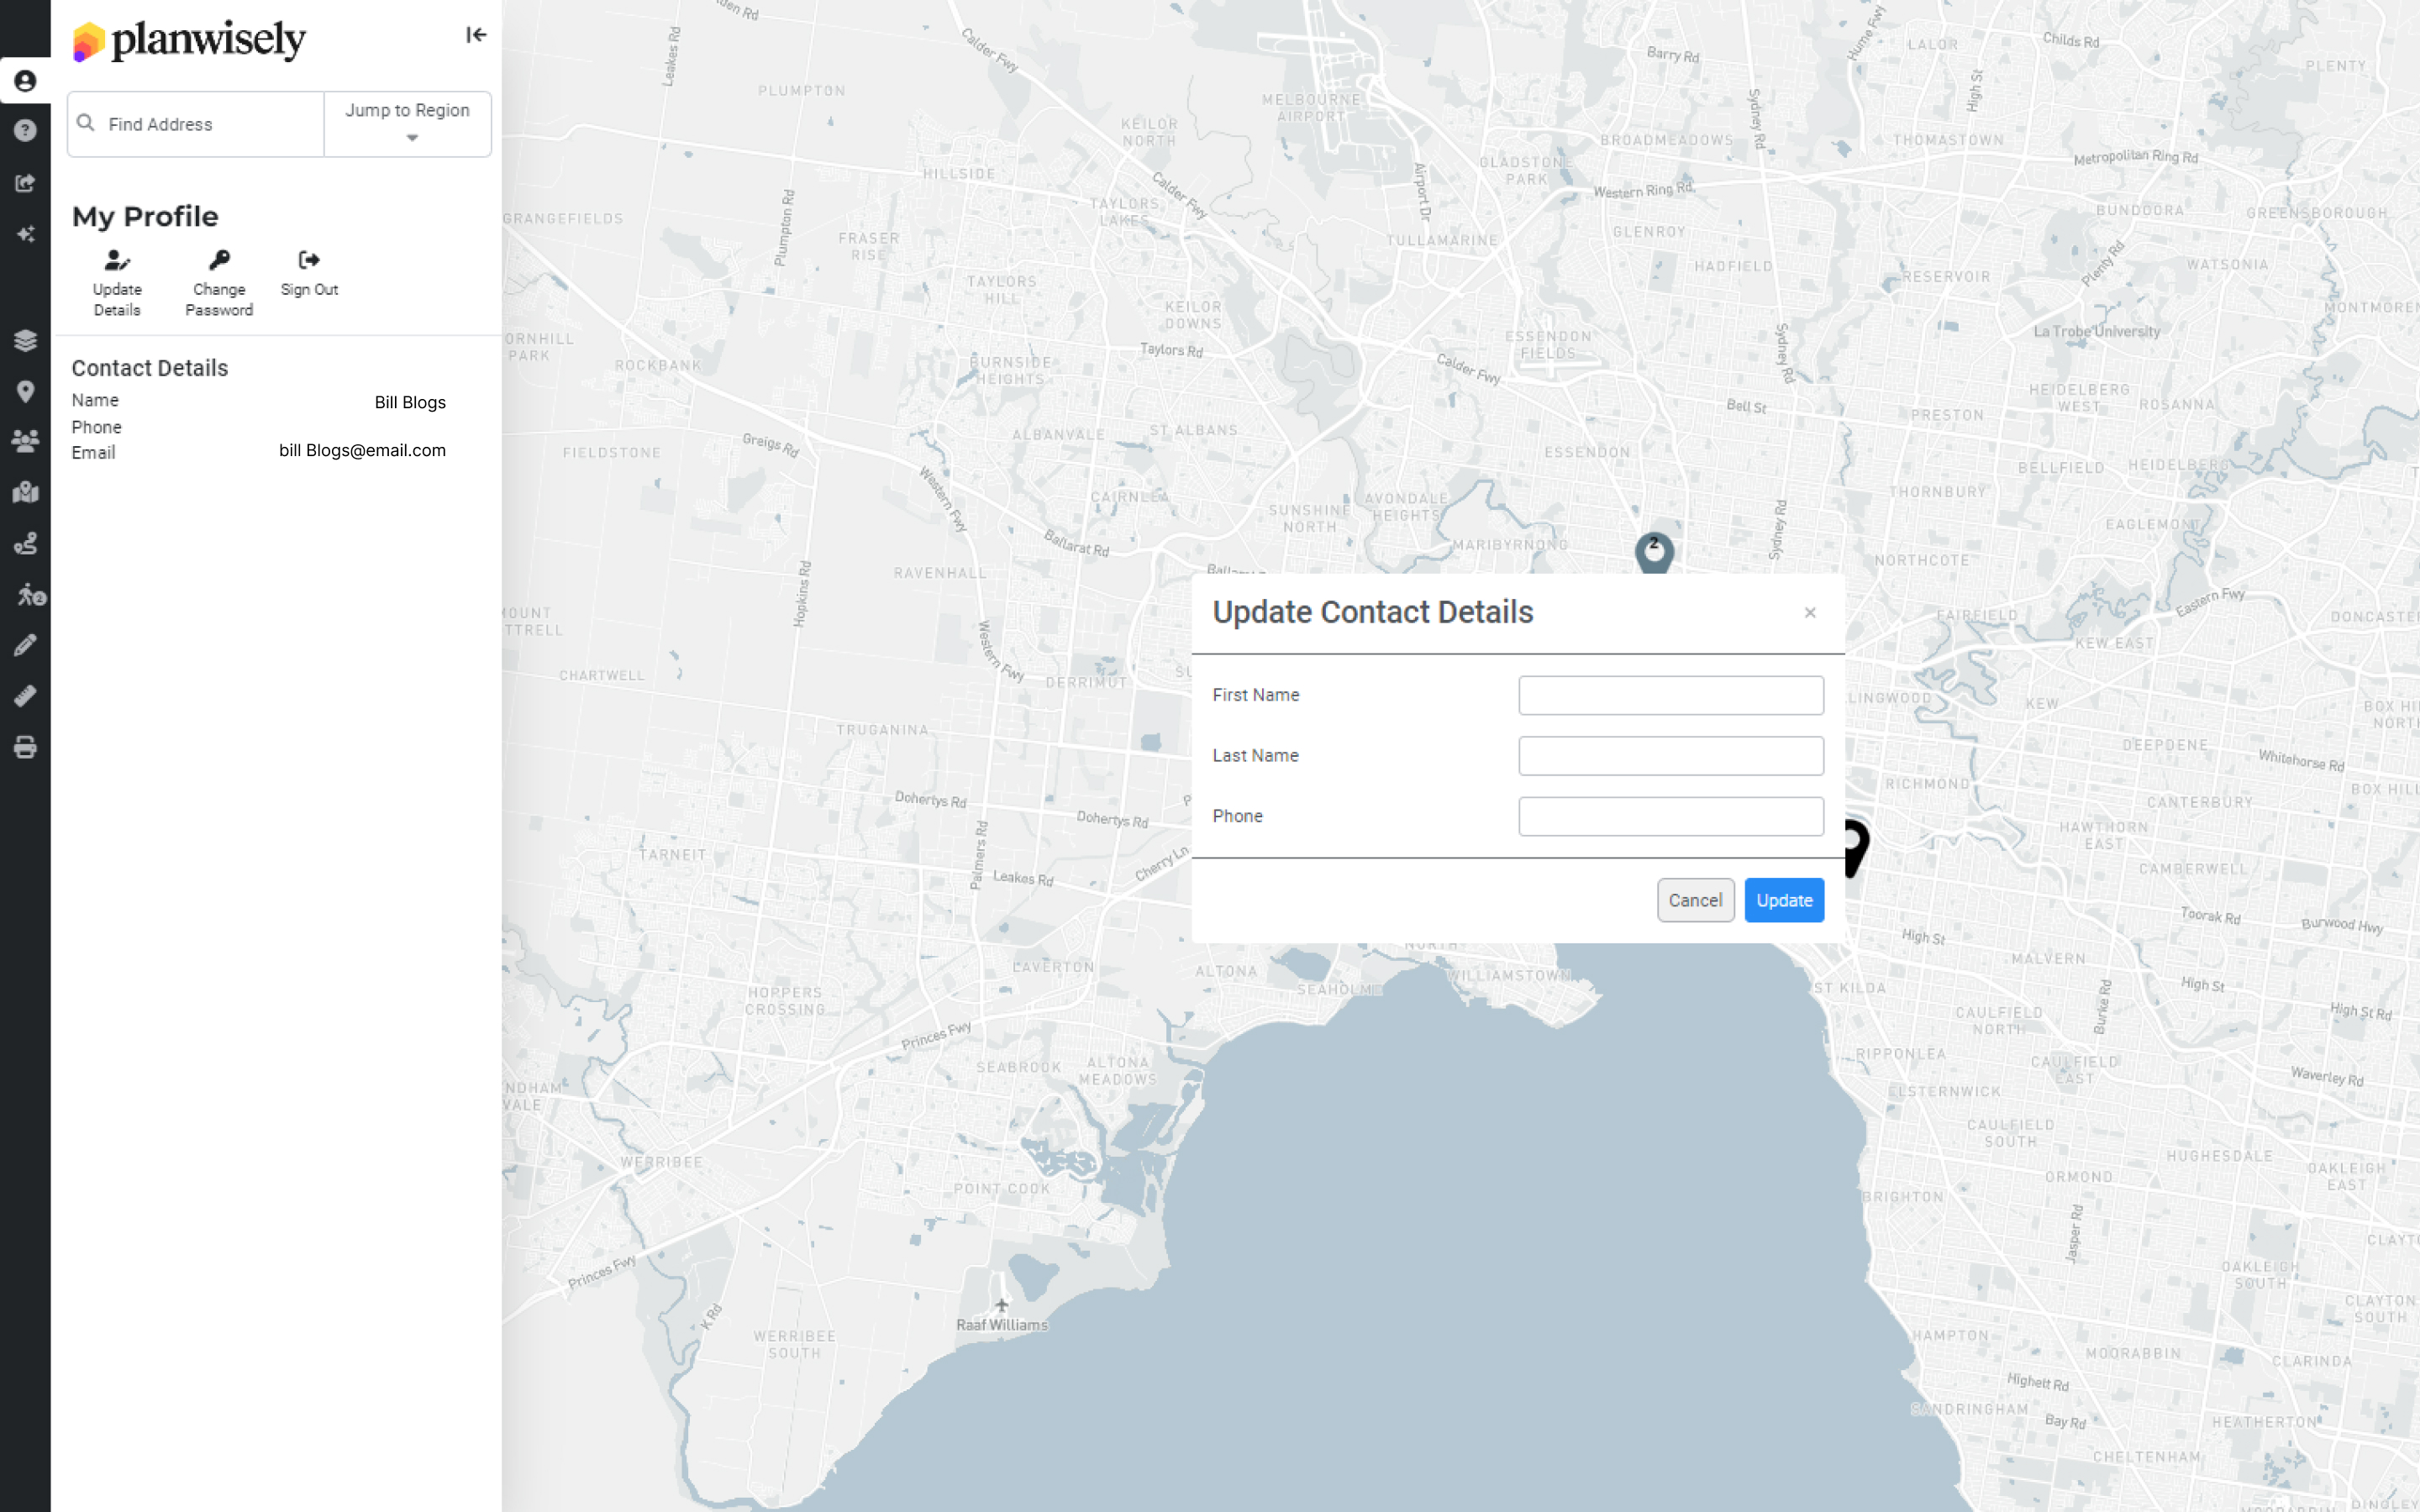
You can adjust your personal details and change your account preferences by updating your profile.
When logged in to your account, select My Profile at the top of the Ribbon menu. You can select Update Details to add or update your first name, last name or phone number.
Select Sign Out to actively log out of your Planwisely account and return to the login page.

Given its extensive use of mapping and large spatial datasets, Planwisely has been designed to run predominantly on desktop PCs and laptops. Planwisely doesn't currently support mobile devices.
Planwisely has been tested across a wide range of web browsers. We support the following browsers:
- Safari 11.1 and later
- Chrome 90 and later
- Microsoft Edge 80 and later
- Firefox 90 and later
Planwisely is not compatible with Internet Explorer. For the best experience in Planwisely, we strongly recommend keeping your browser and operating system up to date.
If you notice something is not right in Planwisely, you can report technical or data issues for our team to investigate.
To report an issue with what you're seeing onscreen when you're using Planwisely, you can select the Provide Map Feedback icon either from the map screen or through Support in the Ribbon menu.
Recommended Articles
Uploading your own local data
You can upload, visualise and analyse your own datasets quickly and securely in Planwisely.

The catchment analysis tool
Analyse accessibility and generate demographic reports using Planwisely's catchment analysis tool.

Map controls and navigation
Discover the essentials on how to get around the map in Planwisely.


